
This Pickled Okra recipe is a delightful way to preserve your garden’s bounty and enjoy the unique taste of okra year-round. With its tangy flavor and crunchy texture, pickled okra can elevate your salads, sandwiches, or serve as a delicious snack on its own. It’s perfect for gatherings, barbecues, or simply enjoying at home. Easy to prepare and packed with flavor, you’ll find that this recipe quickly becomes a staple in your kitchen.
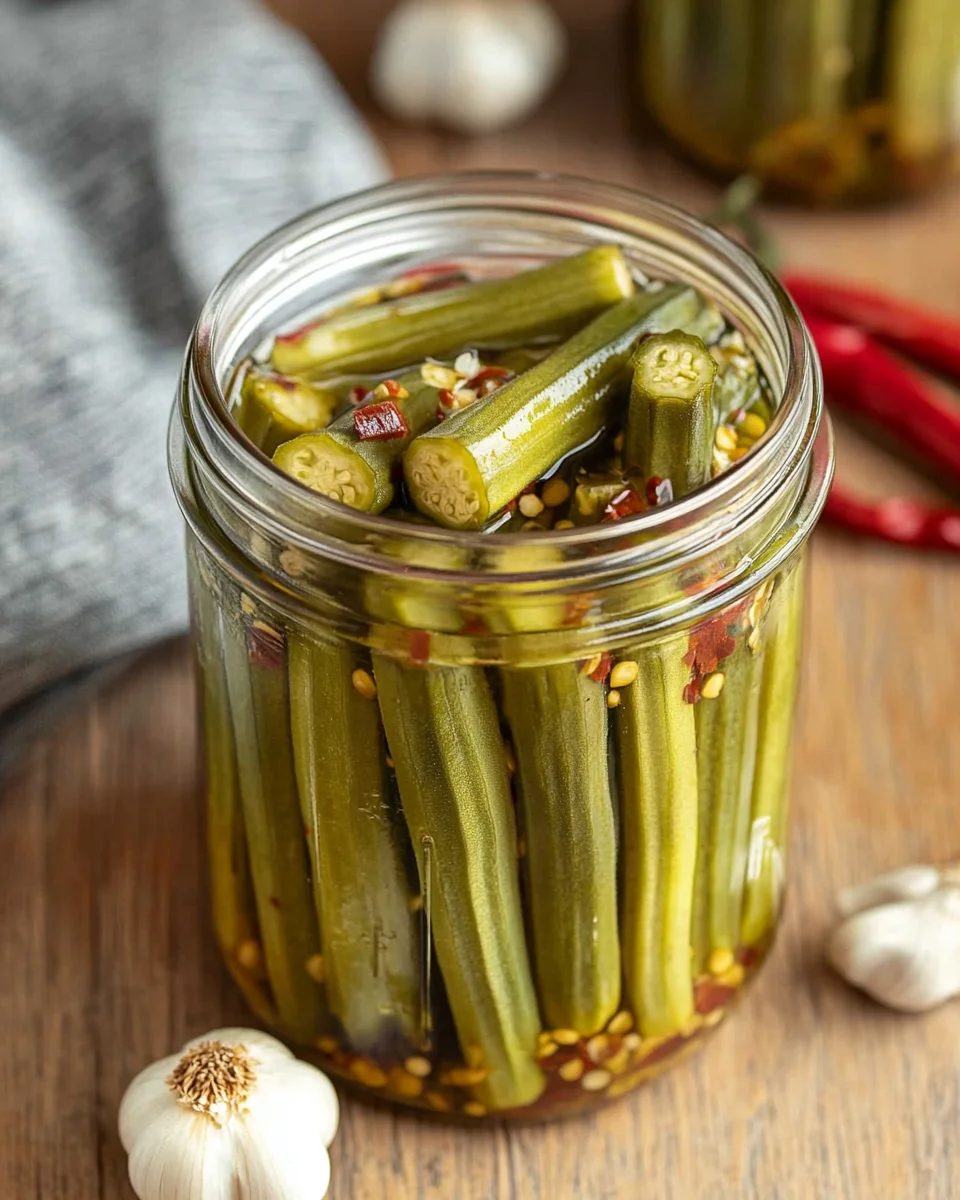
Why You’ll Love This Recipe
- Quick Preparation: This pickled okra comes together in just 25 minutes, making it an easy addition to any meal.
- Fresh Flavor: Using fresh ingredients ensures that each bite bursts with flavor, perfect for enhancing various dishes.
- Versatile Use: Enjoy pickled okra on its own, in salads, or as a zesty garnish for cocktails.
- Long-Lasting: Properly canned, this pickled okra can last for weeks in your refrigerator.
- Healthy Snack: Low in calories and full of nutrients, it’s a guilt-free treat you can enjoy anytime.
Tools and Preparation
Before you begin making your pickled okra, gather the essential tools you’ll need to ensure a smooth process.
Essential Tools and Equipment
- Canner
- Jars with lids
- Pot
- Measuring cups
- Mixing spoon
Importance of Each Tool
- Canner: Ensures that the jars are properly sealed for long-term storage.
- Jars with lids: Essential for holding the pickled okra and maintaining freshness.
Ingredients
For the Pickling Brine
- 1 quart white vinegar
- 1 quart water
- 1/2 cup pickling salt
For the Pickled Okra
- Okra
- 1 tsp dill seed
- 1 pod red pepper or 1/8 tsp cayenne pepper
- 3 garlic cloves
How to Make Pickled Okra
Step 1: Prepare the Brine
- In a pot, mix together the vinegar, water, and pickling salt.
- Bring this mixture to a boil over medium heat.
Step 2: Prep the Okra
- While the brine is heating up, wash your okra thoroughly and set it aside.
Step 3: Set Up Your Canner
- Fill your canner with water and bring it to a simmer. Place jars inside to keep them warm.
Step 4: Prepare Lids and Bands
- Wash all lids and bands in warm soapy water to ensure cleanliness.
Step 5: Fill Your Jars
- Remove one jar from the canner.
- Add 1 tsp dill seed, 1 pod red pepper (or cayenne), and 3 garlic cloves into the jar.
- Pack okra into the jar tightly after adding the seasonings.
Step 6: Add Brine
- Carefully pour hot brine into the jar over the packed okra.
Step 7: Seal Your Jars
- Leave about 1/2 inch headspace at the top of each jar after removing air bubbles.
- Wipe down the rim of the jar before placing on a lid and securing with a band.
Step 8: Process Jars
- Return filled jars to the canner and repeat until all jars are filled or okra is used up.
Step 9: Boil for Preservation
- Process jars in boiling water for 15 minutes to ensure they are sealed properly.
Step 10: Cool Down
- After processing, remove pot from heat and allow jars to sit for an additional 5 minutes before taking them out.
Step 11: Final Cooling Check
- Allow jars to cool completely on a clean towel or cooling rack. Check seals after 24 hours; they should be tight if stored correctly.
Enjoy your homemade Pickled Okra as a zesty addition to meals or as a standalone snack!
⭐ Join Thousands of Happy Customers Who Love These Coffee Scoops!
How to Serve Pickled Okra
Pickled okra is a versatile treat that adds a delightful crunch and tang to various dishes. Here are some creative ways to serve this flavorful snack.
As a Snack
- Enjoy pickled okra straight from the jar for a quick, healthy nibble. It’s perfect for satisfying those afternoon cravings.
In Salads
- Add sliced pickled okra to salads for an extra kick. Its tangy flavor pairs well with greens and complements vinaigrettes beautifully.
With Charcuterie Boards
- Include pickled okra on your charcuterie board. It adds color and a unique taste that contrasts nicely with meats and cheeses.
As a Garnish
- Use pickled okra as a garnish on cocktails, such as Bloody Marys. It enhances the drink’s flavor and adds visual appeal.
In Sandwiches
- Layer pickled okra in sandwiches or burgers. It provides a crunchy texture that balances rich ingredients.
With Dips
- Serve pickled okra alongside your favorite dips, like hummus or ranch. The acidity cuts through creamy textures, making it a delightful pairing.
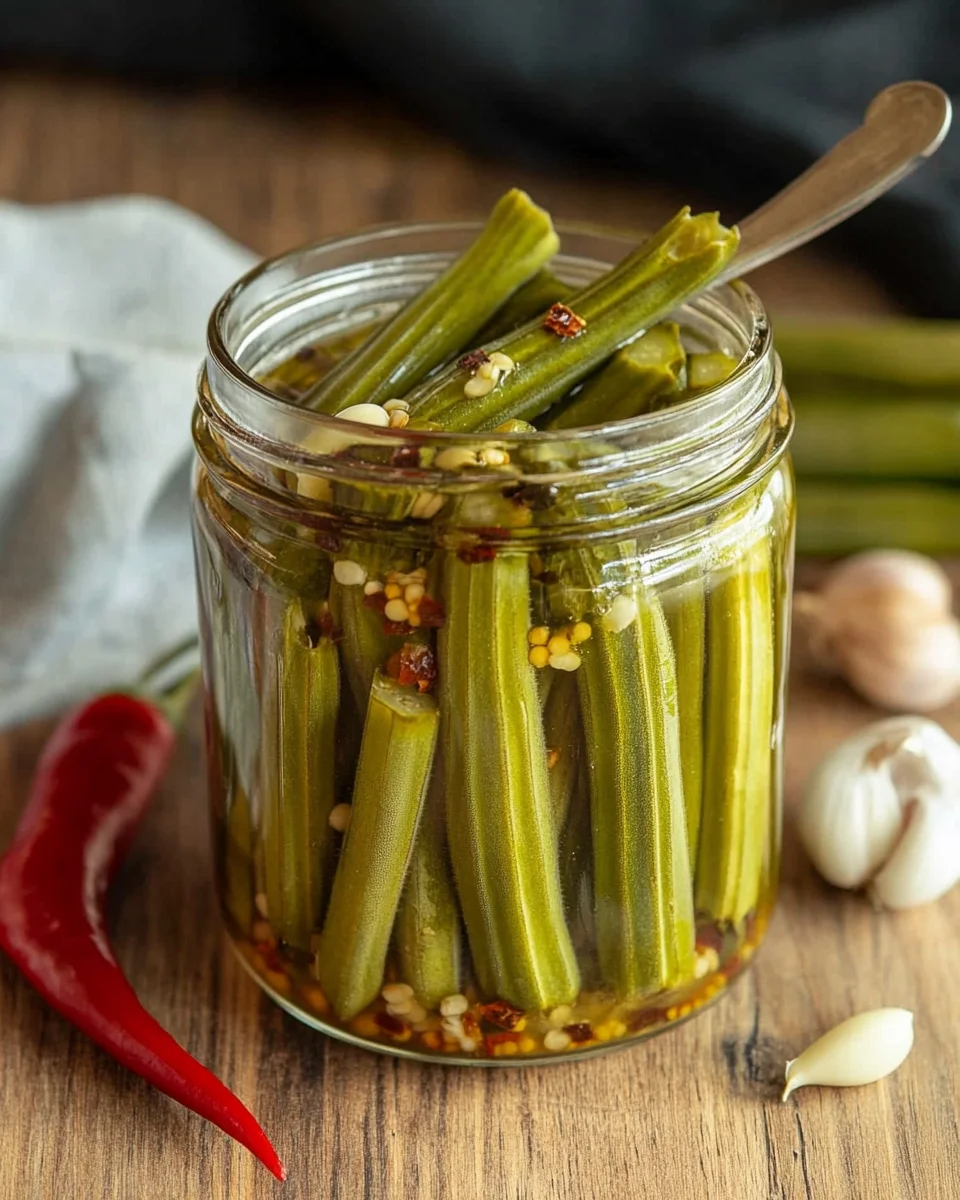
How to Perfect Pickled Okra
To ensure your pickled okra turns out perfectly every time, keep these tips in mind.
-
Use fresh okra: Fresh, young okra pods yield the best results. Look for pods that are firm and bright green.
-
Adjust spice levels: Feel free to modify the red pepper or cayenne pepper according to your heat preference.
-
Pack jars tightly: When filling jars, pack the okra tightly without crushing them for even brining.
-
Leave headspace: Always leave about 1/2 inch of headspace in jars to allow for expansion during processing.
-
Check seals properly: After cooling, ensure each jar has sealed by pressing down in the center of the lid; it should not pop back up.
Best Side Dishes for Pickled Okra
Pickled okra pairs wonderfully with many side dishes, enhancing their flavors and textures. Here are some excellent options to consider.
-
Cornbread: Sweet cornbread balances the tanginess of pickled okra, making it an ideal companion.
-
Fried Green Tomatoes: The crispy texture of fried green tomatoes complements the crunch of pickled okra beautifully.
-
Coleslaw: A creamy coleslaw provides a nice contrast to the sharpness of pickled okra while adding freshness.
-
Barbecue Ribs: The smoky flavors of barbecue ribs pair well with the vinegary notes of pickled okra, creating a delicious harmony.
-
Potato Salad: Adding chopped pickled okra to potato salad gives it an unexpected twist and elevates its flavor profile.
-
Macaroni Salad: This classic side dish benefits from the added crunch and tanginess of pickled okra, making it more exciting.
-
Baked Beans: The sweetness of baked beans is balanced by the tartness of pickled okra, creating an unforgettable combination.
Common Mistakes to Avoid
When making pickled okra, there are common pitfalls that can affect the flavor and safety of your batch. Here are some mistakes to watch out for.
- Not using fresh okra: Always select fresh, firm okra for pickling. Older or bruised okra can result in a mushy texture and less flavor.
- Skipping the sterilization process: Failing to properly sterilize jars can lead to spoilage. Make sure to boil your jars before filling them with pickled okra.
- Ignoring headspace guidelines: Leaving too little headspace in jars can cause overflow during processing. Aim for 1/2 inch of headspace as directed in the recipe.
- Overlooking seasoning adjustments: Taste preferences vary, so don’t hesitate to adjust spices like dill seed or cayenne pepper to suit your palate.
- Not checking seals: After cooling, it’s crucial to check jar seals. If a jar isn’t sealed correctly, refrigerate it and use within a few days.
Refrigerator Storage
- Store pickled okra in an airtight container.
- Keep in the refrigerator for up to 3 months.
- Ensure the brine fully covers the okra to maximize flavor and shelf life.
Freezing Pickled Okra
- Freezing is not recommended as it affects texture; however, if you must:
- Place in freezer-safe containers or bags.
- Consume within 6 months for best quality.
Reheating Pickled Okra
- Oven: Preheat oven to 350°F. Spread okra on a baking sheet and heat for about 10 minutes until warmed through.
- Microwave: Place in a microwave-safe dish, cover lightly, and heat on medium power for 1-2 minutes.
- Stovetop: Heat in a skillet over low heat until warmed, stirring occasionally.
Frequently Asked Questions
How long does pickled okra last?
Pickled okra stored in the refrigerator lasts up to 3 months when kept in an airtight container.
Can I use frozen okra for pickling?
While fresh okra is recommended for best texture and flavor, you can use frozen if necessary; just be aware that the final product may be softer.
What is the best way to serve pickled okra?
Pickled okra makes a great side dish or snack. Serve it as part of a charcuterie board or add it to salads for extra crunch.
How To Pickle Okra At Home safely?
To pickle okra safely at home, ensure all equipment is sterilized and follow the recipe closely regarding brine ratios and processing times.
Can I customize my pickled okra recipe?
Absolutely! Feel free to experiment with different spices or herbs like mustard seeds, bay leaves, or even lemon slices for unique flavors.
Final Thoughts
This pickled okra recipe is not only easy but also incredibly versatile. Whether as a side dish or snack, its tangy flavor complements many meals. Don’t hesitate to customize your batch with different spices or ingredients according to your taste. Enjoy preserving this delightful summer treat!
Pickled Okra
- Total Time: 25 minutes
- Yield: Approximately 4 servings 1x
Description
Pickled okra is a delightful way to enjoy the unique flavor and crunch of this vegetable all year round. This easy recipe allows you to preserve fresh okra from your garden, enhancing your meals with its tangy taste and crisp texture. Perfect for snacking, adding to salads, or serving as a zesty garnish for cocktails, pickled okra is a versatile addition to any kitchen. In just 25 minutes, you can create a delicious batch that lasts for weeks in your refrigerator. With fresh ingredients and simple techniques, this recipe will quickly become a favorite in your home.
Ingredients
- 1 quart white vinegar
- 1 quart water
- 1/2 cup pickling salt
- Fresh okra
- 1 tsp dill seed
- 1 pod red pepper or 1/8 tsp cayenne pepper
- 3 garlic cloves
Instructions
- Prepare the brine by boiling vinegar, water, and pickling salt in a pot.
- Wash okra thoroughly and set aside.
- Heat water in the canner and sterilize jars.
- In each jar, add dill seed, red pepper (or cayenne), and garlic cloves.
- Pack okra tightly into the jars.
- Pour hot brine over the packed okra, leaving 1/2 inch headspace.
- Seal jars with lids and process in boiling water for 15 minutes.
- Cool completely before checking seals.
- Prep Time: 10 minutes
- Cook Time: 15 minutes
- Category: Preserve
- Method: Canning
- Cuisine: Southern
Nutrition
- Serving Size: 5 pieces (45g)
- Calories: 20
- Sugar: 0g
- Sodium: 580mg
- Fat: 0g
- Saturated Fat: 0g
- Unsaturated Fat: 0g
- Trans Fat: 0g
- Carbohydrates: 4g
- Fiber: 2g
- Protein: 1g
- Cholesterol: 0mg
The Salad Bowls Amazon Chose and Customers Love!
Leave a Comment