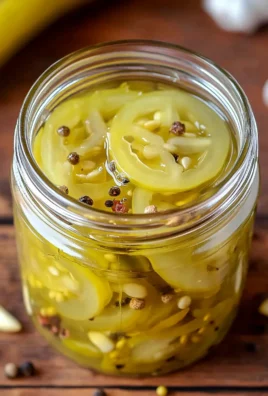
These Granny’s Bread and Butter Pickles Recipe are a delightful combination of sweet and tangy flavors, making them an ideal addition to burgers, sandwiches, or salads. The unique blend of spices creates a flavor profile that stands out, ensuring these pickles will be a hit at barbecues and family gatherings. Whether you’re preserving your summer harvest or simply craving a tasty snack, this recipe is perfect for any occasion.
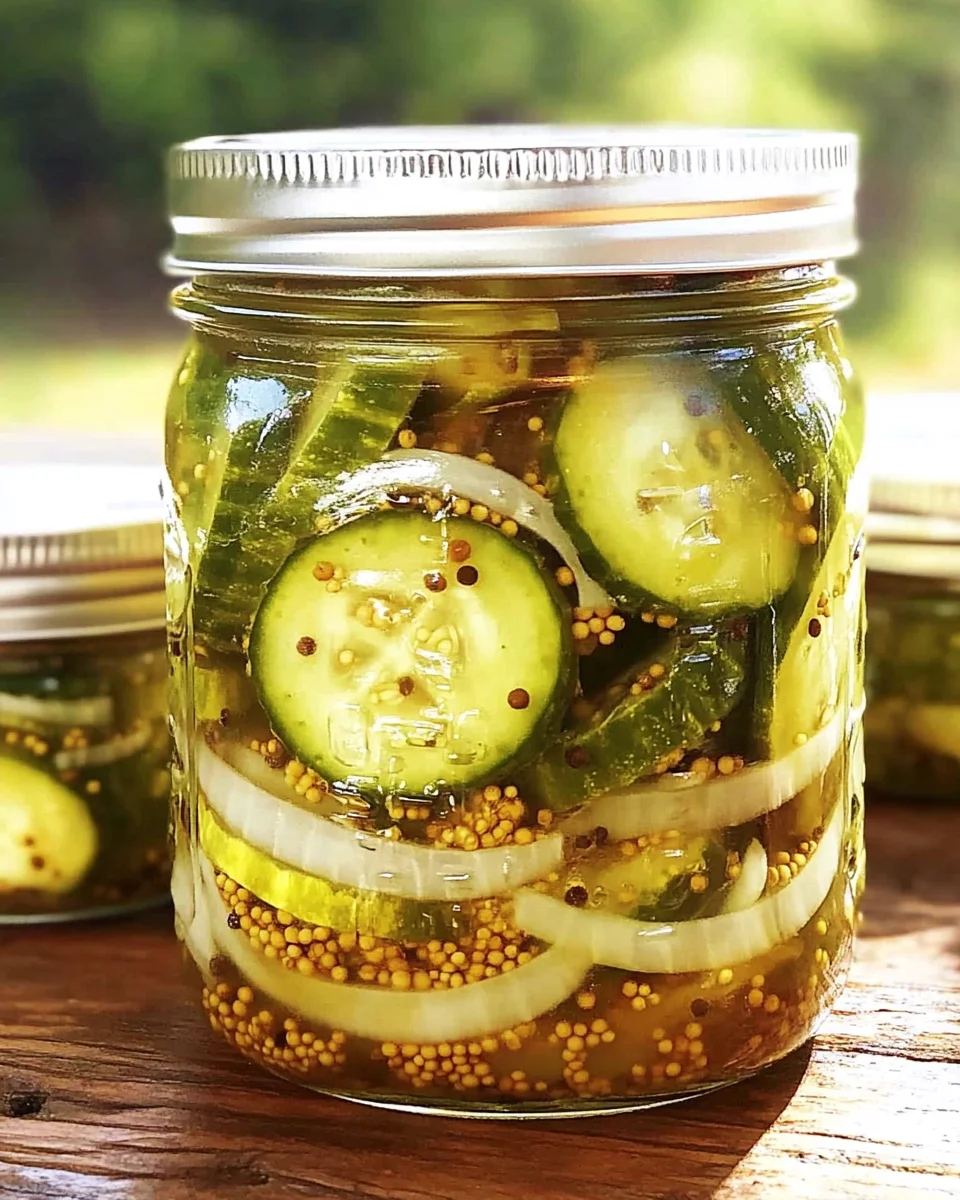
Why You’ll Love This Recipe
- Easy to Make: This recipe simplifies canning so you can enjoy homemade pickles without the fuss.
- Versatile: Use these pickles in various dishes, from burgers to salads, or on their own as a snack.
- Long-Lasting Flavor: With proper storage, these pickles can last up to a year—perfect for enjoying throughout the seasons!
- Family Tradition: This classic recipe is inspired by cherished family traditions, making it a great way to connect with loved ones.
- Customizable: Feel free to adjust the sweetness or spice level based on your preferences.
Tools and Preparation
Before diving into this delicious recipe, ensure you have the right tools ready. Proper equipment not only makes the process easier but also ensures the safety of your canned goods.
Essential Tools and Equipment
- Water bath canner
- Jar lifter
- Canning funnel
- Bubble popper
- Clean jars with lids
Importance of Each Tool
- Water bath canner: Essential for safely processing your jars and maintaining optimal temperature.
- Jar lifter: Helps safely remove hot jars from boiling water without burns.
- Canning funnel: Prevents spills while filling jars, ensuring cleanliness and precision.
Ingredients
These bread and butter pickles are a perfect balance of sweet and tangy flavors. Perfect for topping your favorite burgers or adding to salads.
The Salad Bowls Amazon Chose and Customers Love!
- 3 pounds pickling cucumbers
- 1 pound onions
- 1/4 cup canning or pickling salt
- 2 quarts crushed ice or ice cubes and water
- 1 cup sugar
- 1 tablespoon yellow mustard seed
- 1 teaspoon celery seed
- 1 teaspoon ground turmeric
- 1/2 teaspoon black peppercorn
- 3 cups apple cider vinegar (5% acidity or white vinegar)
How to Make Granny’s Bread and Butter Pickles Recipe
Step 1: Prepare Your Cucumbers and Onions
- Wash cucumbers thoroughly, then cut them into 1/4-inch slices after discarding the ends.
- Peel and thinly slice onions.
- Combine sliced cucumbers and onions in a large bowl.
Step 2: Salt and Ice Treatment
- Sprinkle canning salt over the top of the cucumber and onion mixture.
- Cover with crushed ice or ice cubes mixed with water.
- Let stand for 3 hours to draw out excess moisture.
Step 3: Prepare Your Canning Equipment
- Wash jars, lids, screw bands, and canning tools in hot soapy water.
- Rinse thoroughly to remove all suds.
- Set aside to air dry on a clean kitchen towel.
Step 4: Heat Your Jars
- Place the jar rack into the water bath canner.
- Add jars into the canner and pour in enough water to cover them.
- Bring the canner to a simmer at 180˚F for 10 minutes to keep jars hot.
Step 5: Make Your Pickling Brine
- In a large pot, combine sugar, mustard seed, celery seed, ground turmeric, black peppercorns, and vinegar.
- Heat just until boiling.
Step 6: Combine Vegetables with Brine
- Drain and rinse the cucumber and onion mixture under fresh water.
- Add drained vegetables back into the large pot with brine.
- Return to boil briefly before reducing heat to keep warm as you fill jars.
Step 7: Fill Your Jars
- Spread a clean kitchen towel on your counter for jar placement.
- Using your jar lifter, remove one hot jar from the canner; drain it before placing it on the towel.
- Pack hot cucumbers and onions loosely into each jar using your canning funnel.
- Ladle hot brine over pickles while maintaining a 1/2 inch headspace.
Step 8: Remove Air Bubbles
- Run your bubble popper through each jar to release trapped air bubbles.
- Ensure all pickles are submerged under brine; adjust headspace if necessary.
Step 9: Seal Your Jars
- Wipe rims clean to remove any residue that may prevent sealing.
- Center lids on each jar and screw on bands until fingertip tight.
- Return filled jars back into the hot water bath canner using your jar lifter.
Step 10: Process Jars
- Once all jars are in the canner, adjust water level so it sits 2 inches above jar tops.
- Cover canner; bring water to boil over high heat.
- Boil vigorously; process pints for about 10 minutes if under 1,000 feet altitude (adjust if necessary).
Step 11: Cool Down
- When processing time is complete, turn off heat but leave cover on for about 5 minutes before removing it carefully away from you.
Step 12: Remove Jars
- Use jar lifter again to take jars out of the canner onto a towel while keeping them upright.
- Do not tighten bands yet; let jars cool undisturbed for about 12 to 24 hours.
Step 13: Check Seals
- After cooling period, check if lids have sealed properly by pressing down in center; if it pops up, seal has failed—refrigerate immediately for use within a week.
Step 14: Store Your Pickles
- Remove screw bands; wash jars gently before labeling with date.
- Store in cool dark place; ideal flavor develops after about four weeks but use within one year for best results!
Enjoy creating this family-favorite recipe!
How to Serve Granny’s Bread and Butter Pickles Recipe
Granny’s Bread and Butter Pickles are versatile and add a delightful crunch and flavor to many dishes. Here are some creative serving suggestions that will elevate your meals.
On Burgers
- Adding these pickles to your favorite burger gives it a sweet and tangy twist. They pair well with beef, chicken, or even veggie patties.
In Salads
- Tossing these pickles into a fresh garden salad enhances both texture and flavor. Their sweetness complements greens beautifully.
With Sandwiches
- Layer them in sandwiches or wraps for an extra kick. They work great with deli meats or as a vegetarian option with cheese.
As a Snack
- Enjoy them straight from the jar as a quick snack. They make a perfect crunchy treat anytime you need something savory.
Charcuterie Board
- Incorporate these pickles into your charcuterie board for added flavor. They balance out rich cheeses and meats, creating a harmonious spread.
With Cheese Plates
- Pair them with cheese platters, especially sharp cheddar or creamy brie. The contrast of flavors makes for an irresistible combination.
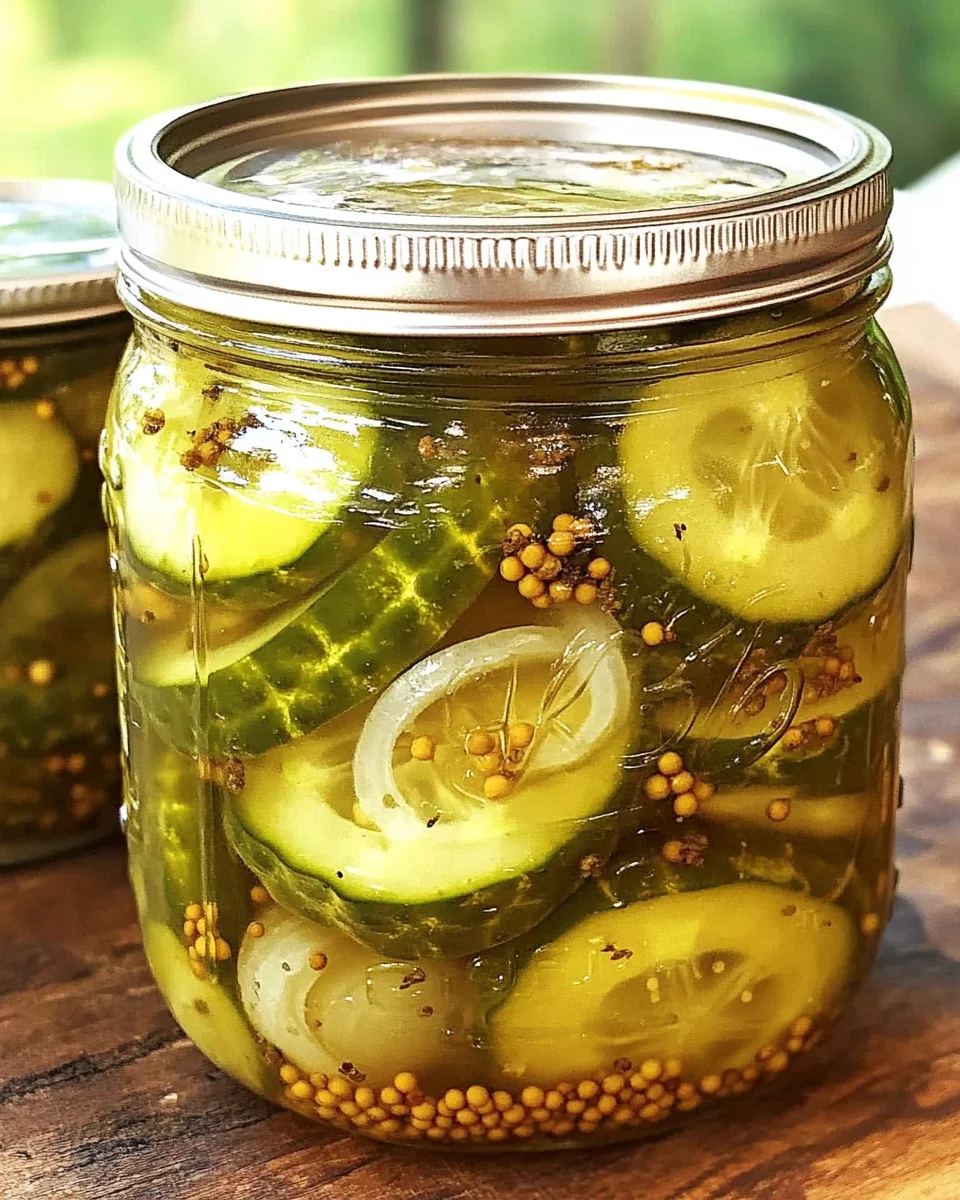
How to Perfect Granny’s Bread and Butter Pickles Recipe
To ensure that your pickling experience is top-notch, consider these helpful tips.
-
Choose Fresh Cucumbers: Use firm, unblemished pickling cucumbers for the best texture and flavor in your finished product.
-
Be Precise with Measurements: Accurate measurements of sugar and vinegar are crucial. Too much sugar can affect the balance of flavors.
-
Let Them Sit: Allow the pickles to sit undisturbed after canning. This resting period helps develop their flavors more fully over time.
-
Check Seals: Always check that jars have sealed properly before storing them. A proper seal ensures safety and longevity.
-
Store Properly: Keep your jars in a cool, dark place to maintain their quality for longer periods.
-
Taste Before Serving: Allow the pickles at least 4-5 weeks to develop their flavor before consuming for the best taste experience.
Best Side Dishes for Granny’s Bread and Butter Pickles Recipe
Pair your Granny’s Bread and Butter Pickles with delightful side dishes that enhance any meal. Here are some tasty options:
-
Coleslaw: A crunchy coleslaw adds freshness alongside the sweetness of the pickles, making it a perfect companion at summer barbecues.
-
Cornbread: Soft cornbread provides a comforting base that complements the tangy flavors of the pickles beautifully.
-
Potato Salad: Creamy potato salad pairs well with the crispness of the pickles, providing a satisfying contrast in textures.
-
Baked Beans: Sweet baked beans make an excellent side, balancing out the tanginess of the bread and butter pickles wonderfully.
-
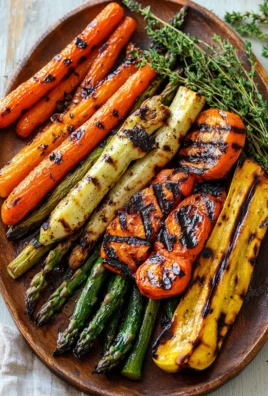
Grilled Vegetables: Seasoned grilled vegetables bring out natural sweetness that harmonizes nicely with the pickle’s flavors.
-
Macaroni Salad: This classic dish adds creaminess to your plate while offering another layer of flavor alongside your pickles.
-
Deviled Eggs: These savory bites become even tastier when paired with slices of bread and butter pickles on top—an unexpected delight!
-
Fried Green Tomatoes: Crispy fried green tomatoes provide crunch and acidity, making them an ideal match for bread and butter pickles on any plate.
Common Mistakes to Avoid
Making Granny’s Bread and Butter Pickles can be easy, but there are common mistakes that can affect the final product. Here’s how to avoid them:
- Not using pickling cucumbers – Regular cucumbers can become mushy when pickled. Always choose pickling cucumbers for the best crunch.
- Skipping the salt step – This step helps draw out excess moisture from the cucumbers and onions, ensuring they stay crisp. Don’t skip it!
- Ignoring headspace – Not leaving enough space at the top of jars can cause overflow during processing. Always maintain a 1/2 inch headspace for best results.
- Underestimating processing time – If you live at a higher altitude, adjust your processing time accordingly. Failing to do this can lead to improperly sealed jars.
- Neglecting jar cleanliness – Make sure jars are thoroughly cleaned and sanitized before use. This prevents contamination and ensures proper sealing.
Storage & Reheating Instructions
Refrigerator Storage
- Store opened jars of Granny’s Bread and Butter Pickles in the refrigerator.
- They will last for up to 1 month once opened.
Freezing Granny’s Bread and Butter Pickles Recipe
- It is not recommended to freeze bread and butter pickles as freezing alters their texture.
- For best results, store in a cool, dark place instead.
Reheating Granny’s Bread and Butter Pickles Recipe
- Oven – Preheat your oven to 350°F (175°C) and warm them in an oven-safe dish for about 10 minutes.
- Microwave – Place a few pickles in a microwave-safe bowl, cover loosely, and heat for about 30 seconds.
- Stovetop – Heat over low on the stovetop until warmed through, stirring occasionally.
Frequently Asked Questions
What ingredients do I need for Granny’s Bread and Butter Pickles Recipe?
You will need pickling cucumbers, onions, canning salt, sugar, mustard seed, celery seed, ground turmeric, black peppercorns, and apple cider vinegar.
Can I customize my Granny’s Bread and Butter Pickles Recipe?
Absolutely! You can adjust the sugar for sweetness or add spices like dill or garlic for extra flavor.
How long does it take for Granny’s Bread and Butter Pickles to develop flavor?
Allow 4-5 weeks after processing for the flavors to fully develop before enjoying them.
How do I know if my pickles have sealed properly?
Check by pressing down on the center of each lid; if it doesn’t pop back up, it has sealed correctly.
Final Thoughts
Granny’s Bread and Butter Pickles offer a delightful mix of sweet and tangy flavors that elevate any meal. These pickles are versatile; enjoy them on burgers, sandwiches, or simply as a snack. Feel free to customize with your favorite spices to make this recipe truly your own. Give it a try—you’ll love making these delicious treats!
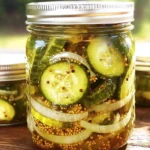
Granny’s Bread and Butter Pickles Recipe
- Total Time: 40 minutes
- Yield: Approximately four pint-sized jars 1x
Description
Granny’s Bread and Butter Pickles are a cherished family recipe that brings together the perfect balance of sweet and tangy flavors. These delightful pickles are easy to make and incredibly versatile, making them a fantastic addition to burgers, sandwiches, salads, or enjoyed straight from the jar as a snack. The unique spice blend elevates their flavor profile, ensuring they shine at barbecues and gatherings. With just a few simple ingredients and some basic canning equipment, you can create these delicious pickles that not only preserve your seasonal bounty but also evoke fond memories of family traditions.
Ingredients
- 3 pounds pickling cucumbers
- 1 pound onions
- 1/4 cup canning or pickling salt
- 2 quarts crushed ice or ice cubes and water
- 1 cup sugar
- 1 tablespoon yellow mustard seed
- 1 teaspoon celery seed
- 1 teaspoon ground turmeric
- 1/2 teaspoon black peppercorns
- 3 cups apple cider vinegar (5% acidity)
Instructions
- Wash cucumbers and slice them into 1/4-inch rounds; peel and thinly slice onions.
- Combine cucumbers and onions in a bowl, sprinkle with salt, cover with ice, and let stand for 3 hours.
- Prepare jars by washing them thoroughly; heat jars in a water bath canner at 180˚F.
- In a pot, combine sugar, spices, and vinegar; heat until boiling.
- Drain cucumber mixture; add to the brine briefly before filling jars with the mixture.
- Remove air bubbles using a bubble popper; seal jars tightly.
- Process jars in boiling water for about 10 minutes (adjust for altitude).
- Cool jars undisturbed for up to 24 hours before checking seals.
- Prep Time: 20 minutes
- Cook Time: 20 minutes
- Category: Condiment
- Method: Canning
- Cuisine: American
Nutrition
- Serving Size: 1 jar (400g)
- Calories: 160
- Sugar: 30g
- Sodium: 900mg
- Fat: 0g
- Saturated Fat: 0g
- Unsaturated Fat: 0g
- Trans Fat: 0g
- Carbohydrates: 38g
- Fiber: 2g
- Protein: 2g
- Cholesterol: 0mg
Amazon's Best Seller Pasta Bowls Are Almost Gone!
Leave a Comment